While farms are busy finishing up planting 2018 crops, now is a great time to get your garden squared away and ready for planting warm season fruit and vegetable crops. It is well known that cover crops are a great way to build soil health and fertility levels on our farms; but, how many of us utilize this potential in our gardens to grow nutritious fruits and vegetables?
Using cover crops in a no-till gardening situation makes planting and crop maintenance a breeze for the rest of the year! Planting an overwintering mix in the fall such as Hairy Vetch and cereal rye, is an easy way to meet your crops’ fertility needs as well as providing mulch that will protect your soil throughout the harsh growing conditions of summer. This means no fertilizing necessary, less supplemental watering needed, and a mulch that prevents weeds from becoming a problem.
We call this “highly-productive, lazy growing.”. Without having to water much or spend time bent over weeding, you will have plenty of time to enjoy your bountiful garden and preserve the fruits of your labor for enjoyment throughout the long winter months. Here are five, easy steps for no-till gardening:
Step 1: Prepare & Seed
 Preparing to plant your cover
Plant a cover crop mix of Hairy Vetch and Cereal Rye as garden area becomes available in the fall. This will typically be August through October in the Midwest (varies by region; when your tomatoes die after the first frost, immediately pull them out and plant your cover crop). Do not waste time on this step. As soon as your area is available, seed the cover crops to maximize fall growth.
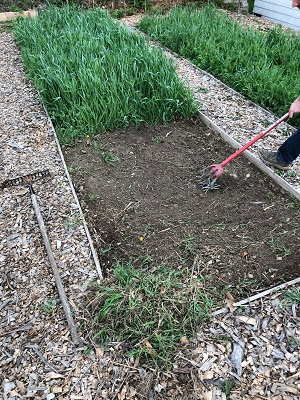
In a no-till garden situation, use a small cultivator (such as The Garden Weasel or use a chopping action with a rake) to loosen the top 1 inch of soil to create a seed bed to broadcast your seed into. Broadcast seed into area at a rate of 5.6 oz per 100 sq. ft. (or just shy of 1 cup). Make one more pass with the cultivator to lightly cover the seed. Water it in well and keep moist until germination.
Step 2: Growing Phase
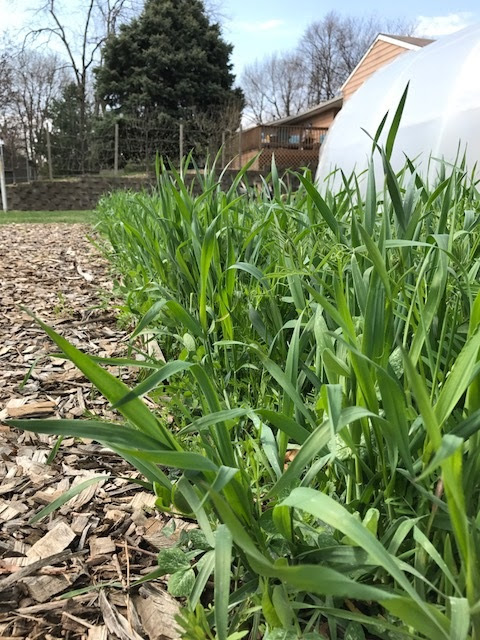 Spring growth
The cover crops will grow throughout the fall months and then go dormant for the season. In spring, they will begin to regrow vigorously. This works great to out-compete early-season weeds that would otherwise become a problem. Spring growth is also a critical time where Hairy Vetch is fixing nitrogen to be used by your garden crops later in the season.
Water cover crops as needed to keep them growing strong and to maximize their benefit.
Step 3: When to Terminate
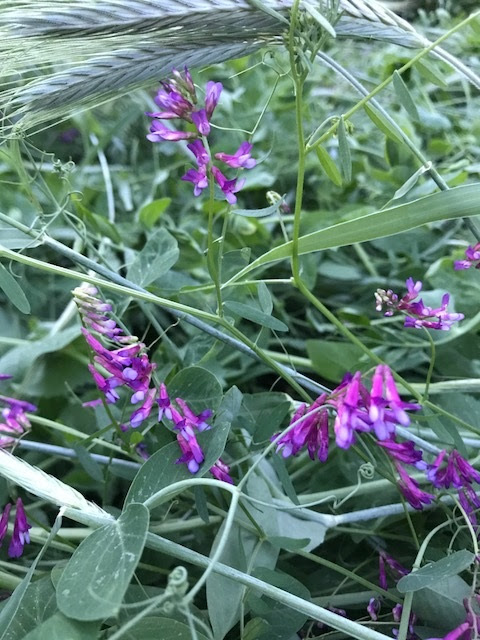 Purple flowers on Hairy Vetch
 Small, yellow flowers on rye heads
Sometime in May (in the Midwest), depending on the growing season, the Cereal Rye and Hairy Vetch will begin to flower. This indicates that it is the perfect time to “roller-crimp” your cover crops to terminate them prior to planting your “cash crop.” Look for purple flowers in the Hairy Vetch and very small yellow flowers on the rye heads. When both are flowering simultaneously, they are ready for crimping.
Step 4: Terminate
 Crimping Tool
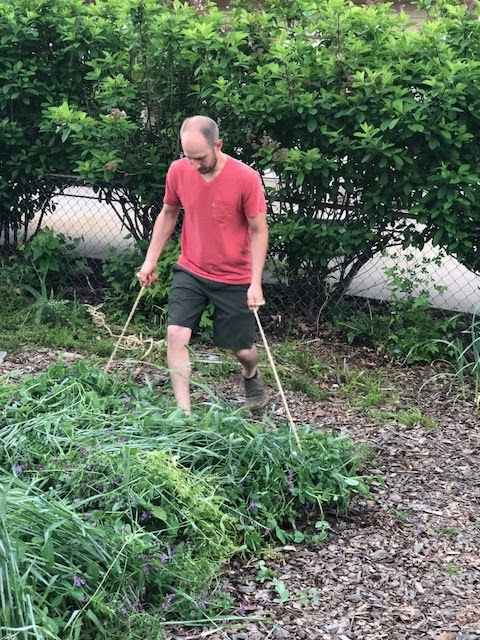 Using the crimp tool
You can build a tool to crimp your cover crops from two pieces of rope, a two-by-four and a small piece of angle iron or aluminum. You simply hold the two pieces of rope attached to each end of the board, push the cover crops over as you walk along and step on the two-by-four to crush the stems of the cover crops. You are not trying to cut the plants, but only crimp the stems to stop the flow of nutrients throughout the plant. The cover crop will die within a few days and you are left with a beautiful, weed-free and mulched garden bed to plant into.
Step 5: Planting
 After crimping
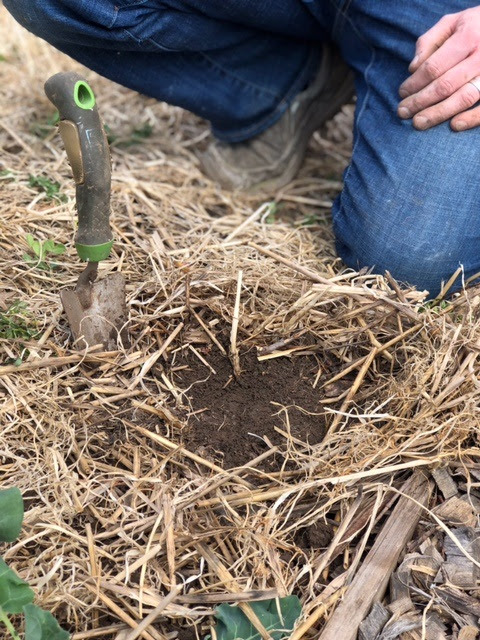 Planting into residue
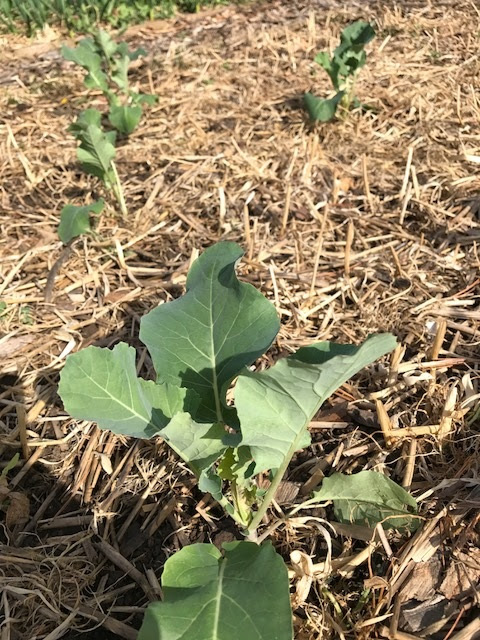 Broccoli in residue
With the cover crop laid on the ground after crimping it down, you can simply transplant straight into the residue. Push the residue aside enough to dig a small hole into the soil and drop in your transplant (tomatoes, peppers, squash, etc.). Grab an iced tea and think of the ways you will spend all the extra time you will have this summer free from the stress of keeping your garden weeded and watered.
Check out our cover crop garden kits